Installing a water hose for your robot vacuum may seem complicated, but it's actually a simple process. By following a few simple steps, you can improve the performance of your vacuum, making it more versatile and efficient. This guide will walk you through the steps to install a water hose and other alternatives.
Can I Install a Water Hose for My Robot Vacuum Cleaner?
Yes, some sweeping robot models are designed to work with a water hose or water tank, especially those equipped with mopping capabilities. These robots often come with a water tank or hose attachment that allows them to vacuum and mop at the same time. However, not all models support this feature. Be sure to check the specifications and user manual of your self-empty robot vacuum to confirm if it can be used with a water hose.
If your robot does not support this feature, consider other alternatives. For example, you could use a separate mopping robot or manually spray water before you start cleaning. Following the manufacturer's guidelines is recommended to ensure that your robot cleaner for pet hair is not damaged during use. This approach helps you maintain the efficiency and longevity of your robot vacuum while exploring different cleaning options.

How to Install a Water Pipe for a Robot Cleaner?
To install a water hose for your robot cleaner, you first need to check if your model supports the water tank or hose attachment. If it does, you can follow the installation steps below.
Check the Manual
Before you begin, read the manual for your robot cleaner and confirm if your model supports water pipes before reviewing the specific steps for installation. The manual will show where to connect the pipes and explain any required components. So, checking these details beforehand can avoid confusion during the process.
Find the Connection Point
Look for the port or slot on the robot cleaner where the water pipe should be connected. This is usually located near the back or bottom of the device. If you are unsure, you can check the manual's diagram or photos for guidance. Because knowing the exact location will make the next step much easier.
Connect the Water Pipe or Water Tank
Align the water pipe or water tank with the connection point and gently push it into place. However, some models have clips or locking mechanisms that need to be engaged to keep the pipes secure. After properly connecting, you need to ensure that the seal is tight. This will help ensure that there will be no leaks during operation. Vacuum cleaner parts often include these locking mechanisms to provide a tight fit.
Fill the Water Tank
After connecting the pipes, fill the water tank with clean water, but be careful not to overfill it. Detergents are not recommended unless otherwise specified in the manual. Close the lid tightly to avoid spills, and double-check that the water tank is firmly in place to get your cleaning process started smoothly. Robot cleaners for pet hair models benefit from these precautions to ensure effective operation.
Run a Test Cleaning Cycle
Start a short cleaning cycle to verify that the water lines and tank are functioning properly. Observe that the water flow is steady and make sure there are no leaks around the connection points. If you notice any problems, stop the cycle, check the accessories, and try again. Also, a quick test run helps confirm that the setup is correct, whether you’re using a self-cleaning robot vacuum or a standard cleaning model.

What if You Don’t Want to Install a Water Hose on Your Robot Vacuum?
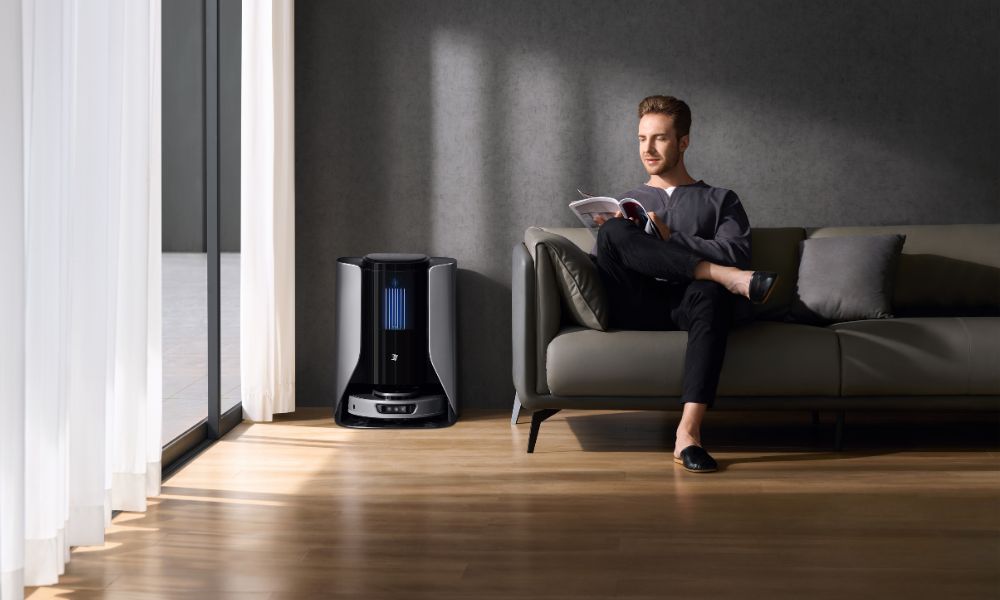
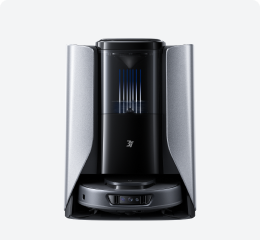
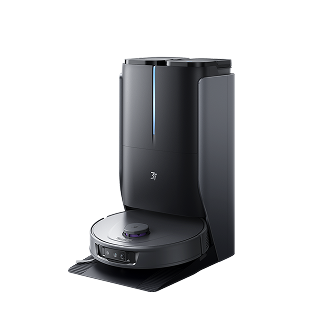
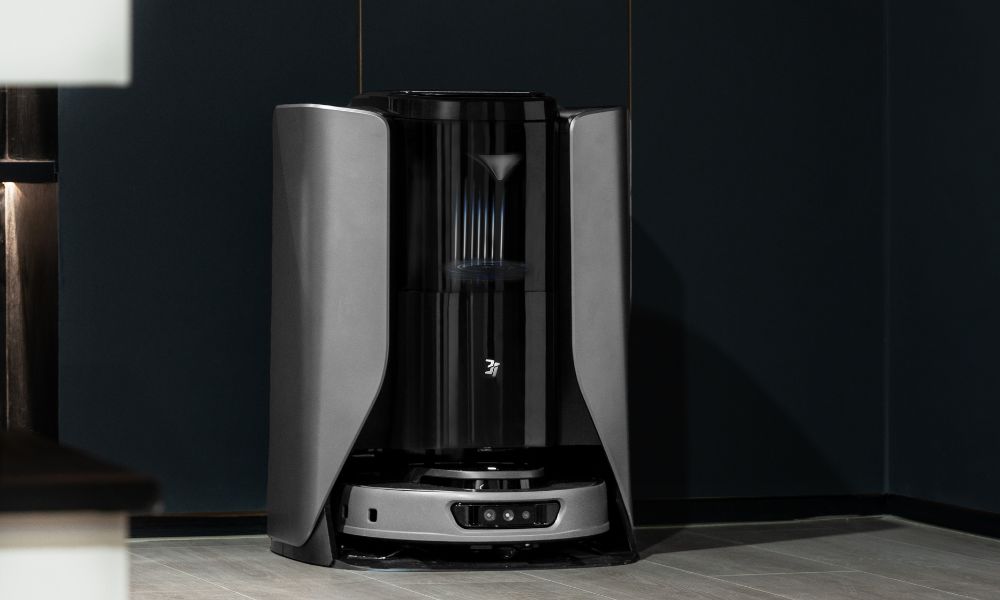
If you don't want to install a hose on your robot vacuum cleaner, you can choose a model that doesn't require a hose. For example, 3i's robot vacuum cleaners work well without a hose attachment. 3i S10 Ultra uses a clean water cycle to generate water from the air, 13000pa powerful suction, and a sweeping mechanism to keep your floors clean. In addition, you can also set restricted areas on the APP, and the sweeping robot will avoid the restricted areas by identifying them.
By choosing a vacuum cleaner that doesn't rely on hoses or water tanks, you can enjoy a simpler setup and maintenance routine. This eliminates the need for extra parts and ensures that your vacuum cleaner remains easy to operate. Whether you're looking for worry-free cleaning or just don't want to install an extra hose, this self-empty robot vacuum can provide a practical solution.
FAQs
How do you add water to a robot vacuum?
To add water to a robot vacuum, start by making sure the vacuum is powered off and placed on a stable surface. Locate the water tank—usually found at the back or bottom of the vacuum—and remove it carefully. Open the tank’s lid or cap, then pour in clean, room-temperature water, taking care not to overfill. Once the tank is filled, close it securely and reattach it to the vacuum. Make sure it’s firmly in place before starting the cleaning cycle.
Can you use a robot vacuum without the app?
Yes, you can often use a robot vacuum without the accompanying app. Many models come with physical buttons on the unit itself or include a remote control, allowing you to start, stop, and schedule cleaning cycles without needing a smartphone connection. While the app usually provides more advanced features like customized cleaning maps and remote monitoring, the vacuum’s core functionality—cleaning your floors—doesn’t require the app. This makes it convenient for users who prefer a simpler setup or don’t have a compatible device.
Can a robot vacuum work without the internet?
Yes, most robot vacuums can work without the internet. Many models rely on onboard sensors and basic programming to navigate and clean your floors, so they don’t need a Wi-Fi connection to function. However, internet connectivity is typically required for app-based features like remote scheduling, customized cleaning maps, and firmware updates. Without internet access, you may lose these advanced options, but the vacuum’s core cleaning capabilities remain unaffected.
Related Reading: Can You Use a Robot Vacuum in the Bathroom?


